|
|
 |
|
No name

|
|
|
 |
|
|
11/06/05
ok well after looking at the laces i'd done i decided i didn't like them. they were too bulky seeing as the wire just did
not do what i wanted it to. so i ripped them out and tried something new.
i re-drilled the holes but this time i drilled them all the way through the leg. i then took some DMC enbroidery floss
i first threaded the laces that would be on the underside of the material. once that was done i painted over the thread
with some Mr. Dissolved Putty to "glue" the thread down.
once that dried i used the 2-part epoxy putty to create the fabrice the thread iss upposed to be going through. redid
the holes before it dried and added some crases so it looks more like the fabric is being stretched some by the laces. soon
as the putty dried i finished threaded the laces and another layer of Mr. Dissolved Putty.
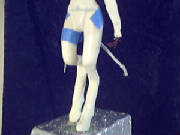
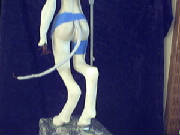
anyway, here's where i'm sitting right now. i just used my scanner to scan in the legs so its easier to see the detail.
theres still a ton more to go of course but i get eager to post pics lol
DMC embroidery Floss
Mr. Dissolved Putty
|
|
|
|
|
|
|
|
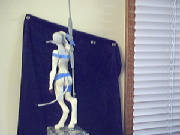
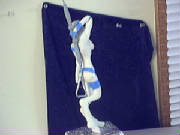
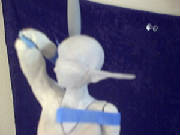
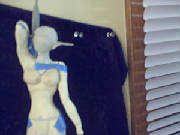
10/31/05
Been pretty busy working on her body. Did some minor sanding but waiting on the majority of it.
I chopped her down into pieces today and am in the process of puttying them now so they fit nicely again. then will come
the sanding and adding of more detail like her clothing, ect.
|
|
|
|
|
|
|
|
|
|
|
|
|
|
|
|
|
Questions & Comments?
Please email me at
VestachaSiofra@hotmail.com
|
|
|
|